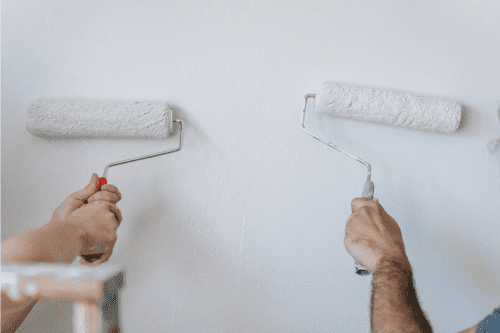
Choosing a new colour for a room can completely transform its look and feel. Painting a room is an exciting task that can revitalise your space and give it a whole new feel. However, before you dive into painting, it’s important to know a few tips and techniques to make sure the result is flawless. In this article, we’ll guide you through the essential steps to paint a room efficiently and professionally.
Step 1: Preparation
Before you start painting, it is crucial to properly prepare the room. This includes:
Contact our professionals to paint your home
1.1 Cleaning
Thorough cleaning is the first step. Start by removing dust and dirt from the walls and ceilings with a cloth or sponge and soapy water. Make sure the surface is completely dry before proceeding. If you find stubborn stains, such as grease, use a degreasing cleaner.
1.2 Removing furniture and objects
Removing furniture from the room is ideal. However, if this is not possible, group furniture in the centre of the room and cover it with plastic sheeting to protect it from paint splashes.
1.3 Repairs
Carefully inspect walls for holes, cracks or other imperfections. Use caulk to fill holes and cracks, and make sure it is completely dry before sanding. Then sand the repaired areas to a smooth, even surface. This will ensure that the paint is applied evenly and smoothly.
Step 2: Choice of colours and paint
2.1 Choosing colours
Carefully choose the colours you want for your room. Consider the natural light, the size of the room and your personal style when making this decision.
The choice of colours is crucial, as it can significantly affect the perception of the space. Lighter colours tend to make a room feel larger and brighter, while darker colours can create a cosier atmosphere. You can consult interior design magazines or online colour palettes for inspiration to find the perfect match.
2.2 Paint type
Select the right type of paint for your needs. Water-based paints are ideal for most rooms, while oil-based paints are more suitable for areas with high humidity, such as bathrooms and kitchens.
Choosing the right type of paint ensures optimal durability and easier long-term maintenance. Be sure to follow the manufacturer’s recommendations for best results. Also, consider using paints with anti-mould technology in areas prone to moisture to avoid future problems.
Step 3: Surface preparation
3.1 Priming
Apply a coat of primer to surfaces if necessary. Priming helps paint adhere better and provides a more durable finish.
Priming is essential on porous surfaces or surfaces with previous strong colours, as it helps the finish paint adhere evenly and prevents previous colours from influencing the new colour. Use a primer suitable for the type of surface you are painting, as there are specific primers for wood, metal, plaster and other materials.
3.2 Masking tape and cut-outs
Use masking tape to cover skirting boards, windows and door frames. Use a smaller brush or roller to paint corners and edges evenly.
Careful taping and trimming ensures that unwanted areas are not painted over and that edges are neat and clean. Be sure to apply the masking tape carefully, pressing it down firmly to avoid paint leaks. Also, remove the masking tape before the paint dries completely for cleaner results.
Step 4: Paint application
4.1 Roller and brush
Use a roller to paint the walls and a brush for details. Apply paint in even strokes and in one direction to achieve a uniform finish.
Proper use of rollers and brushes is essential for a professional finish. Avoid applying too much paint at once to avoid drips and build-up. Start by painting the corners and edges with a brush and then use the roller to cover larger areas. Keep a steady pace and be sure to overlap painted areas slightly to avoid overlap marks.
4.2 Layers and drying
Wait for each coat of paint to dry completely before applying the next coat. This will ensure a smooth and even finish.
Drying time between coats is essential to prevent the paint from blending and to achieve even coverage. Follow the manufacturer’s guidelines for recommended drying time. Generally, it is recommended to wait at least 2-4 hours between coats of paint, but this may vary depending on the type of paint and environmental conditions.
Step 5: Finishing touches
5.1 Remove the masking tape
Carefully remove the masking tape before the paint dries completely to prevent it from peeling off.
Removal of the masking tape should be done carefully to avoid damaging the newly applied paint. Pull the tape at a low angle to obtain sharp edges. If you find any areas where the tape has left a residue, you can use a precision blade to gently remove it.
5.2 Cleaning
Clean your painting tools and return the furniture to its original place.
Proper cleaning of your tools prolongs their life and ensures they are ready for your next project. Use soap and water to clean water-based brushes and rollers, and suitable solvents to clean oil-based paint tools. Also, make sure the room is fully ventilated to remove paint fumes and avoid inhaling harmful chemicals.
Congratulations! You now have a freshly painted room that will look spectacular. By following these steps and tips, you will achieve a professional result that will make you proud of your work. Remember that, in addition to following these tips, choosing quality paint and the right tools are essential for optimal results – enjoy your new room and the freshness that comes with a change of colour!

