Cleaning a paint roller properly is essential to reuse it for future projects and ensure a flawless finish. Whether you’re a professional or do your own house painting, knowing how to keep your tools in good condition is key. House painters know that a well-maintained roller not only lasts longer, but also ensures a smoother job. Here’s how to do it depending on the type of paint you’ve used.
Importance of cleaning the paint roller
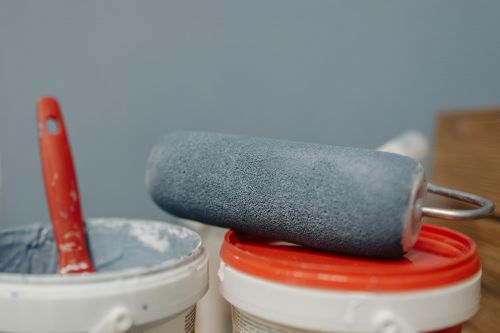
The roller is an essential tool for achieving an even finish on walls, ceilings and other surfaces. Leaving paint residue on it can cause the fibres to harden, which not only shortens its lifespan, but can also affect the next project. In addition, a dirty roller can cause streaks, lumps and uneven paint application.
If you make sure you clean the roller properly after each use, you can considerably extend its life and save money on constant replacements.
Contact our professionals
Different types of paint and their cleaning
Water-based paint (acrylic or latex)
Water-based paints are the most commonly used paints for both interiors and exteriors, mainly because of their low chemical content and easy clean-up. If you have used acrylic or latex paint, cleaning the roller is much easier, as you only need water to remove the residues.
- Remove excess paint: Before dipping the roller in water, make sure to remove as much paint as possible. You can do this by scraping the roller over the edge of the can or by using a roller spatula or roller comb.
- Soak the roller in warm water: Fill a bucket with warm water and add a little mild detergent. Rub the roller with your hands or use a roller comb to get rid of the paint residue.
- Rinsing: Change the water several times until it comes out clean and no paint remains. This step is crucial to prevent residues from accumulating on the fibres of the roller.
- Drying: Allow the roller to air dry, making sure it is completely dry before storing.
Oil-based paint
Oil-based paints, although less common in homes today, are still widely used for certain projects because of their durability and strength. However, they are more difficult to clean and require solvents.
- Remove excess paint: Use a spatula or roller comb and scrape off as much paint as possible.
- Dip the roller in solvent: Fill a bucket with turpentine or mineral spirits. Dip the roller and roll it in the solvent until the paint dissolves.
- Additional cleaning: After dipping, you can use a cloth to remove any paint residue that may have adhered. Be sure to work in a well-ventilated area, as solvents can be toxic.
- Rinse: If necessary, you can do a final rinse with more solvent or clean water to remove any chemical residue.
- Drying: Allow the roller to air dry completely before storing.
What if you can’t clean the roller immediately?
Sometimes, it is not possible to clean the roller right after you have finished painting. In such cases, a good trick is to wrap the roller in a plastic bag or cling film, making sure it is well sealed. This will prevent the paint from drying for a few hours or even until the next day, allowing you to clean it when you have time.
Proper storage of rollers
Once the roller is completely clean and dry, store it in a dry place protected from dust. Placing it in an airtight bag or wrapping it in paper can help prevent it from becoming deformed or dirty.
Tips to prolong the life of your rollers
- Use roller combs: This tool is useful to remove paint residue more efficiently and prevent the roller fibres from caking.
- Replace your tools when necessary: A worn roller can affect the quality of the paint, causing an uneven finish. Do not hesitate to replace it if the fibres are badly deteriorated or hardened.
- Buy quality rollers: In the long run, investing in a good quality roller will save you time and money, as it will last longer and give you better performance.
Other publications that may interest you
What happens if I paint and there is humidity?
Painting a damp wall may seem like a quick fix, but it's like patching a leak: sooner or later the problem comes back, and with more force. If you've ever tried to cover damp patches with a fresh coat of paint and seen mould, bubbles and cracks rebel against your...

How often does a house need to be painted?
Painting a house is one of the most important tasks to keep it in good condition, both aesthetically and structurally. However, there is no universal rule for determining the exact frequency with which you should repaint. This depends on several factors, such as the...

What colour to paint the exterior of a villa?
The colour of a villa's exterior not only defines its style, but also influences how it blends in with its surroundings and its aesthetic value. Choosing the right colour can be a challenge, but with a few tips and trends, you can make an informed decision that will...